Checking certificate revocation in a testing laboratory. EB. Subsystem "Accounting and reporting" Continent tsl client crl failed verification
Setting up an automated workplace of the Electronic Budget occurs in several stages; they are not complicated, but require care. We do everything according to the instructions for setting up an electronic budget. Short and to the point...
Electronic budget setting up a workplace
Root certificate electronic budget
Create a key folder in My Documents to store downloaded certificates in this folder:
On the website http://roskazna.ru/gis/udostoveryayushhij-centr/kornevye-sertifikaty/ in the GIS menu -> Certification Authority -> Root certificates, you need to download “ Root certificate (qualified)" (see figure), or if you received a flash drive with certificates, copy them from the Certificates folder.
Certificate Continent TLS VPN
The second certificate that needs to be downloaded is the Continent TLS VPN certificate, but I couldn’t find it on the new roskazna website, so I’m putting a link from my website. Download the Continent TLS VPN certificate to the key folder; we will need it later when we configure the Continent TLS client program.
Install the downloaded Root certificate (qualified) for working with the electronic budget.
In the START menu -> All programs -> CRYPTO-PRO -> launch the Certificates program.
Go to Certificates as shown in the figure below:
Go to the menu Action - All tasks - Import, the Certificate Import Wizard window will appear - Next - Review - Find the downloaded Root certificate (qualified) in our case it is located in My Documents in the key folder

If everything was done correctly, the root certificate of the Federal Treasury CA will appear in the certificates folder.

Installation of "Continent TLS Client" for working with electronic budget
Continent_tls_client_1.0.920.0 can be found on the Internet.
Unpack the downloaded archive, go to the CD folder and run ContinentTLSSetup.exe

From the item, click on Continent TLS Client KC2 and start the installation.


We accept the terms
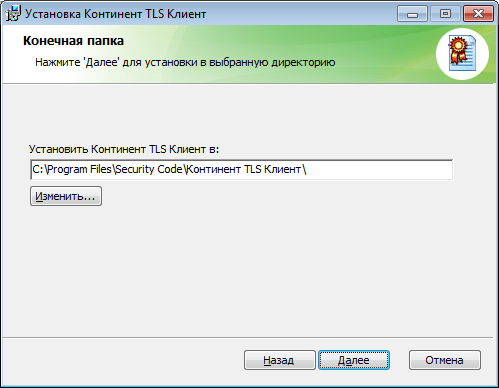
Leave the destination folder as default

In the configurator launch window, check the box next to Launch configurator after installation is complete.
During installation, the Service Settings window will appear:

Address - indicate lk.budget.gov.ru
Certificate - select the second certificate downloaded earlier in the key folder.

Click OK and complete the installation, Done.

When asked to reboot operating system We answer No.
Installing the electronic signature tool “Jinn-Client”
You can download the Jinn-Client program on the Internet.
Go to the Jinn-client - CD folder, run setup.exe
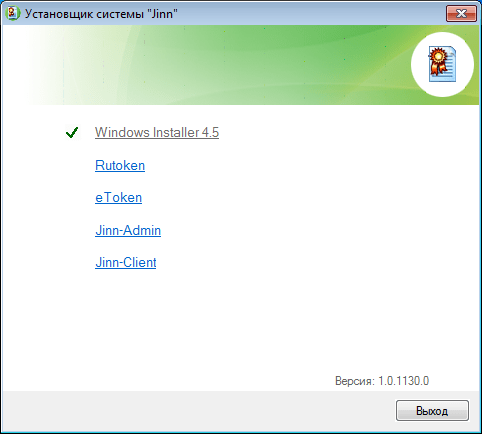
Click from the Jinn-Client list, the program installation starts
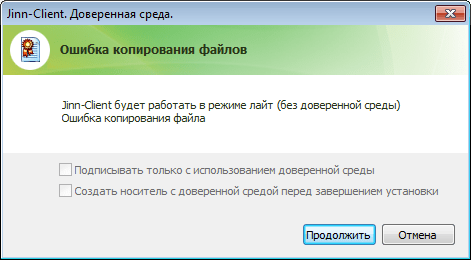
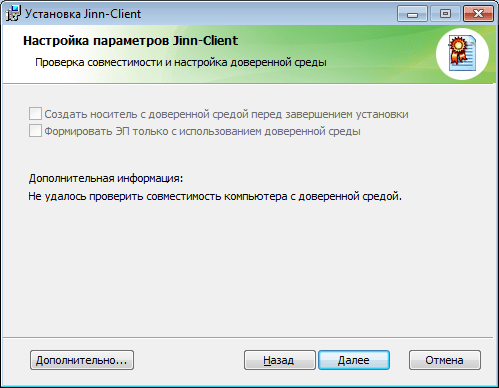
We ignore the error, click Continue, Next, accept the agreement and click Next.

Enter the issued license key

Install the program as default, click Next
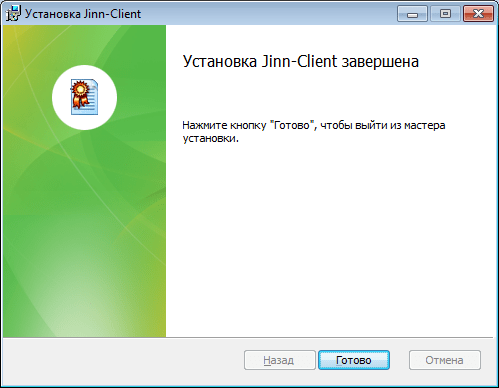
We complete the installation, answer the question about rebooting the operating system No
Installing a module for working with electronic signatures “Cubesign”
If you need an archive with the program, write in the comments.
Let's launch installation file cubesign.msi


Setting up the Mozilla Firefox browser to work with the Electronic Budget.
1. Open the "Tools" menu and select "Settings".
2. Go to the “Advanced” section to the “Network” tab
3. In the “Connection” settings section, click the “Configure…” button.
4. In the connection parameters window that opens, set the value
« Manual setting proxy service."
5. Set the values of the HTTP proxy fields: 127.0.0.1; Port: 8080.

6. Click the “OK” button.
7. In the “Settings” window, click the “Ok” button.
Login to your personal account of the Electronic Budget
A window will open asking you to select a certificate to log in to. personal account Electronic budget.

We select a certificate to enter the Personal Account of the Electronic Budget, if there is a password for the closed part of the certificate, write it down and click OK, then the Personal Account of the Electronic Budget will open.

One of the most common errors in the Electronic Budget workstation program is an error that occurs when connecting to the server, with index number 434. Solving it is quite simple; in most cases, only 2 actions help:
1. Continent TLS build update to the current version. For example, version number 920 was unstable and often the connection failed with the 434 error “Destination server is unavailable.” The current version can be downloaded from the website securitycode.ru.

2. Checking whether the address is entered correctly personal account of the user of the Electronic Budget program in Continent TLS, as well as the port number (8080). The line must not contain spaces or any other characters either at the beginning or at the end of the line. The correct address would be: lk.budget.gov.ru(as in the photo). If you are setting up a proxy server through a browser, it must be configured accordingly. If you do not work through a proxy server, the TLS settings should not be checked. More on this below.
Error 434 "The destination server is unavailable." How to remove?
If the two above solutions to problems did not help you (updating the assembly and spelling the address of your personal account correctly), then the problem most likely lies in incorrect installation root certificates of the certification authority or proxy settings in the browser and it can also be solved.- Regarding certificates- some users, when installing the program incorrectly, install root certificates CA and TLS in the Registry, whereas according to the instructions it is correct - in Local computer. In this case, moving certificates will help.
If you choose to set a proxy server in your browser, it must be enabled in the correct way. You must specify the proxy type - HTTP and check the box that the proxy server will be used for all protocols. Setting example Firefox browser below.


Common mistakes when connecting to GIIS
« Electronic budget»
If you encounter problems connecting to the GIIS “Electronic Budget”, you need to check the settings:
1. Login to your personal account using the link http://lk. budget. gov. ru/ udu- webcenter;
2. check the “Continent TLSVPNClient” settings.
Open the Settings Configurator (Start > All Programs > Security Code > Client > Settings Continent TLS Client), “Port” value must be specified 8080 , "Address" -lk. The “Use external proxy server” checkbox should not be there, if the organization does not use an external proxy, “Require RFC 5746 support” can be removed.
After adding the TLS Continent certificate, the "Certificate" field should indicate "<»;
Figure 1. Service setup
3. check your browser settings.
Using the example Mozilla browser FireFox, launch the browser, open the connection parameters (Main menu of the browser “Tools”> “Settings”> “Advanced” tab> “Network” tab> “Configure” button). Select “Manual configuration of proxy service”, specify in the “HTTP proxy” field the value is 127.0.0.1, “Port” is 8080. Check the “Use this proxy server for all protocols” checkbox.
The "Do not use proxy for" field should not be set to 127.0.0.1.

Figure 2. Connection parameters
Typical errors when connecting to GIIS
« Electronic budget»
Solution options: 1) Disable the antivirus. If the problem is solved, change the antivirus settings 2) Check the TLS and browser settings.
2. 403 Access denied. The server certificate differs from the one specified in the settings. The length of the certificates varies.
Solution: Check the certificate specified in the TLS settings by the name in the line. Should be "<».
3. The certificate selection window does not appear.
Solution: Uncheck “Require RFC 5746 support” if checked. Otherwise, check the other settings.
4. 403 Access denied. The root certificate was not found.
Solution: Reinstall the Federal Treasury CA certificate (if it has already been installed).
For WindowsXP:
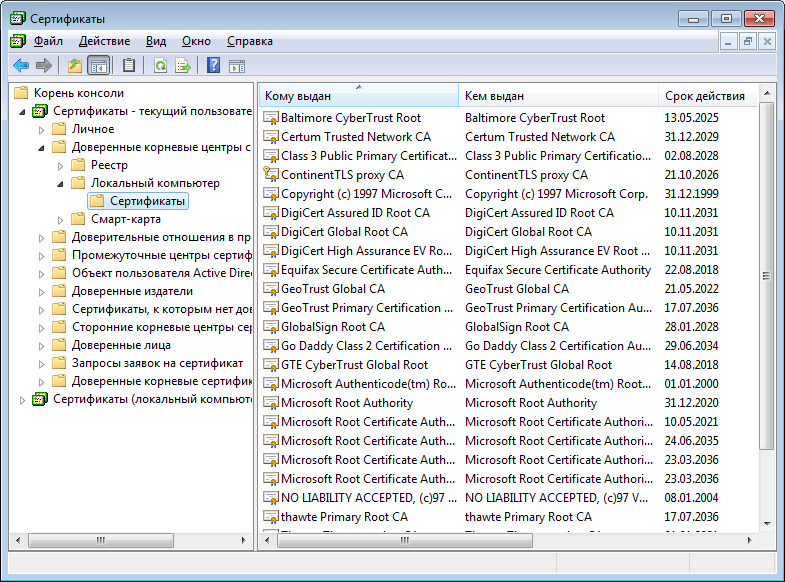
Start>Run>mmc>console>add or remove snap-in>add “certificates” (Fig. 3)>my account>Done >OK>expand the list >open the line “trusted root authorities” - “certificates”>in an empty area of the window with certificates, right-click and select (Fig. 4)>all tasks >import>

Figure 3

Figure 4
For Windows 7:
Start>Run>mmc>file>add or remove snap-in>add snap-in “certificates” (Fig. 5)>add>my account>Finish>OK>expand the contents and go to the line “trusted root authorities” - “certificates” ( Fig. 6)>in an empty area of the window with certificates, right-click and select>all tasks>import>select the desired certificate and install.

Figure 5


